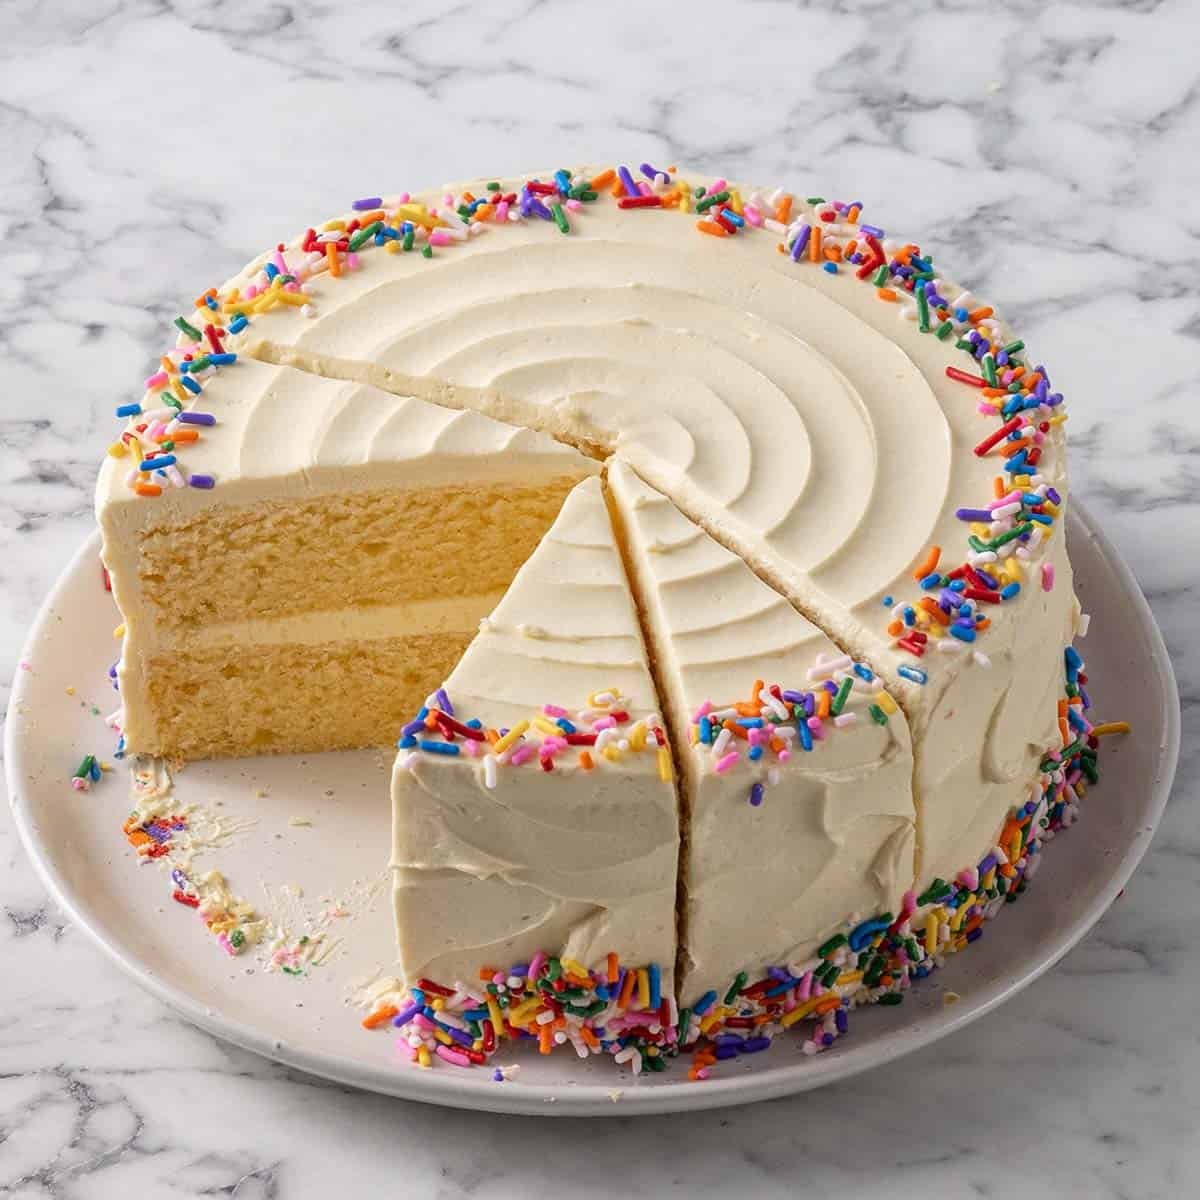
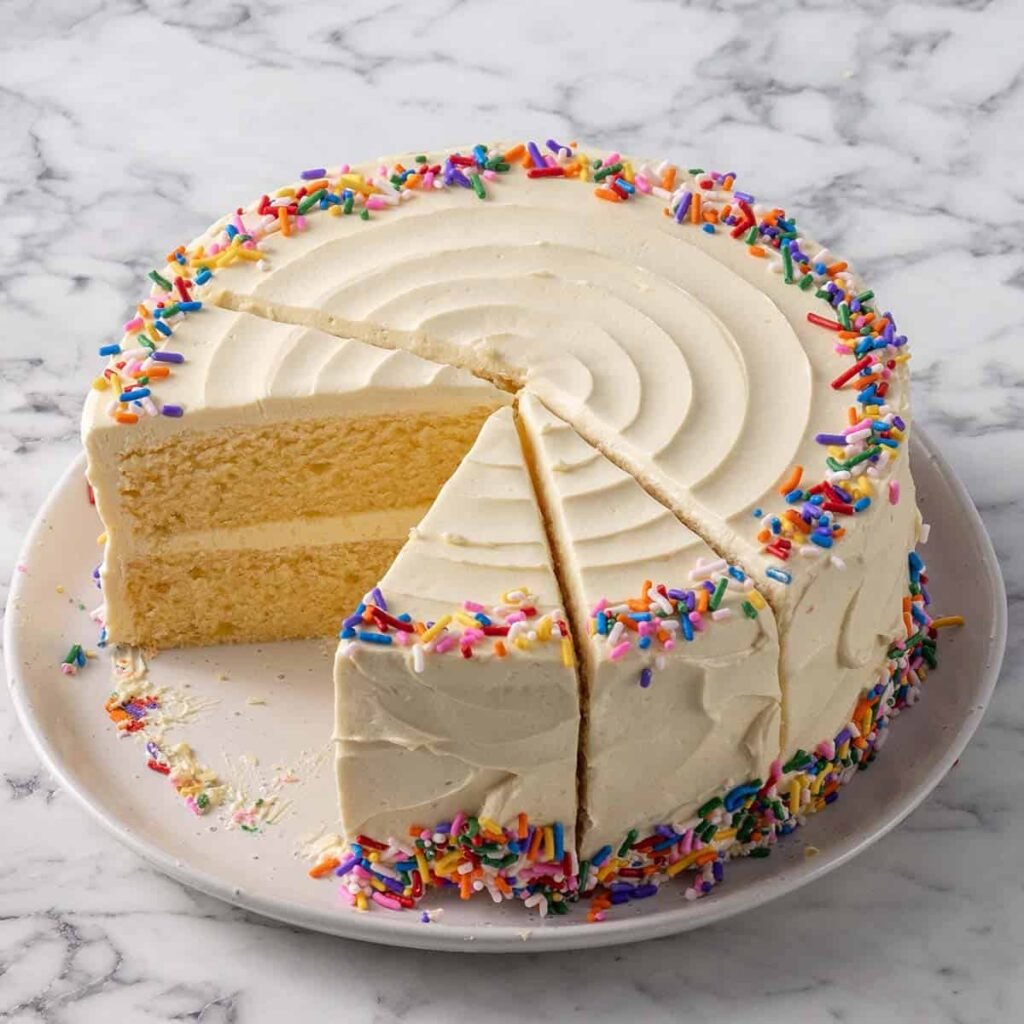
There’s a reason why the classic vanilla sponge cake with buttercream frosting remains a timeless favorite for birthdays, weddings, and celebrations of all kinds. Its light, airy texture paired with rich, creamy frosting creates the perfect balance of sweetness and elegance. Whether you’re a beginner baker or a seasoned pro, mastering this recipe will give you a versatile cake that never fails to impress.
This guide covers everything from the essential ingredients and step-by-step instructions to troubleshooting common issues, ensuring your cake turns out flawless every time.
What Makes the Perfect Vanilla Sponge?
A truly great vanilla sponge is defined by its tender crumb and moist, airy texture. Achieving this involves a careful balance of ingredients and technique.
Key Ingredients for Success
The foundation of a classic vanilla sponge lies in a few simple ingredients:
- Unsalted Butter & Sugar: Creaming these together is the most crucial step. Beating softened butter and sugar until light and fluffy incorporates air, which gives the cake its lift . This process, which can take about 3 to 7 minutes, creates the light texture you’re aiming for . For best results, use room-temperature butter so it creams properly .
- Eggs: Large eggs at room temperature incorporate more easily and create a smoother batter . Add them one at a time, beating well after each addition to prevent the mixture from curdling .
- Flour & Leavening: All-purpose flour combined with baking powder provides structure. Sifting the flour helps aerate it, contributing to a lighter sponge . The “alternating method”—adding dry ingredients and milk in stages, starting and ending with flour—prevents gluten from overdeveloping, which can make the cake dense and gummy .
- Vanilla: Pure vanilla extract is the flavor backbone of this cake. Its quality makes a noticeable difference in the final taste .
Step-by-Step Method
- Preparation is Key: Preheat your oven to 350°F (175°C). Grease and line two 8-inch round cake tins with parchment paper .
- Cream the Butter and Sugar: In a large bowl or stand mixer, beat the butter and sugar together until the mixture is pale, light, and fluffy . This step is critical for creating air in the batter .
- Add Eggs and Vanilla: Beat in the eggs one at a time, ensuring each is fully incorporated. Then, add the vanilla extract .
- Combine Dry Ingredients: In a separate bowl, whisk the flour, baking powder, and salt.
- Mix Wet and Dry: With the mixer on low speed, gradually add the dry ingredients and the milk to the creamed mixture, alternating between the two. Start and end with the flour mixture, and mix until just combined. Overmixing at this stage will develop gluten and ruin the sponge’s light texture .
- Bake: Divide the batter evenly between the prepared tins. Bake for 25-35 minutes, or until a toothpick inserted into the center comes out clean, or the cake springs back when lightly pressed .
- Cool: Allow the cakes to cool in their pans for about 10 minutes. This allows the structure to set . Then, turn them out onto a wire rack to cool completely. Never attempt to frost a warm cake, as the buttercream will melt into a “soggy mess” .
The Art of Silky Buttercream Frosting
Buttercream frosting complements a light sponge perfectly, adding a rich, creamy texture.
How to Make Classic Buttercream
- Start with Softened Butter: Beat softened butter until it’s creamy and smooth. The butter’s consistency is paramount for a silky frosting, so ensure it’s at room temperature .
- Add the Sugar: Gradually add sifted powdered sugar. Sifting is important to prevent lumps and create a smooth finish . Start the mixer on low speed to avoid a “sugar cloud,” then increase speed to beat until fluffy .
- Flavor and Texture: Beat in the vanilla extract and a pinch of salt. Add milk or heavy cream a tablespoon at a time until you reach a spreadable consistency. It should be thick enough to hold its shape but soft enough to smooth easily .
Frosting and Assembly Tips
Once your cake layers are completely cooled, you can begin assembly.
- Level the Layers: If the cakes have domed tops, use a serrated knife to level them so they stack evenly .
- Crumb Coat: Apply a very thin, “dirty” layer of buttercream over the entire cake. This crumb coat traps any loose crumbs. Chill the cake in the refrigerator for about 20 minutes to set this layer .
- Final Coat: Apply a thick, even layer of the remaining buttercream. For an ultra-smooth finish, dip your offset spatula in warm water before smoothing the frosting . This technique helps the buttercream glide effortlessly.
Frequently Asked Questions (FAQ)
Q: How do I prevent my sponge cake from being dense?
A: A dense cake is often a result of overmixing the batter after adding the flour, which develops gluten. It can also happen if the butter and sugar aren’t creamed long enough to incorporate enough air, or if cold ingredients are used .
Q: How do I know when the cake is fully baked?
A: Insert a toothpick or skewer into the center of the cake. If it comes out clean or with just a few moist crumbs, the cake is done. The top should also spring back when lightly pressed .
Q: Why did my cake stick to the pan?
A: This is usually because the pan wasn’t prepared properly. To ensure your cake releases easily, grease the pan thoroughly and line the bottom with parchment paper .
Q: Can I make this cake ahead of time?
A: Yes, you can bake the cake layers a day in advance. Once completely cool, wrap them tightly in cling film and store them at room temperature . You can also freeze the unfrosted cake layers for up to 3 months . It’s best to assemble and frost the cake the day you plan to serve it, especially if using a dairy-based filling.
Q: Can I change the flavor?
A: Absolutely! This recipe is a great base for many variations. You can replace part of the flour with cocoa powder for a chocolate version, or add a layer of fruit jam, lemon curd, or berries between the sponge layers for extra flavor .
Q: How should I store the finished cake?
A: A frosted cake can be stored in a sealed container at room temperature for up to 2 days. If refrigerating, bring it to room temperature for about 30 minutes before serving, as the buttercream will firm up when chilled .
This classic recipe is a staple for any baker. By following these guidelines and paying attention to the details—especially the creaming and mixing methods—you’ll be able to create a stunning, delicious vanilla sponge cake that’s perfect for any occasion.